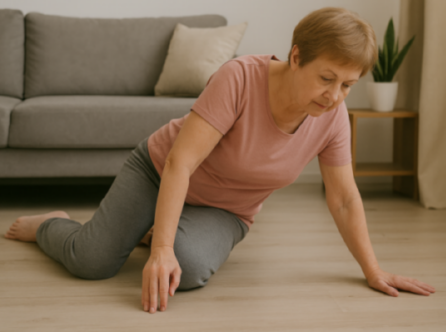
Strength Training for Healthy Bones
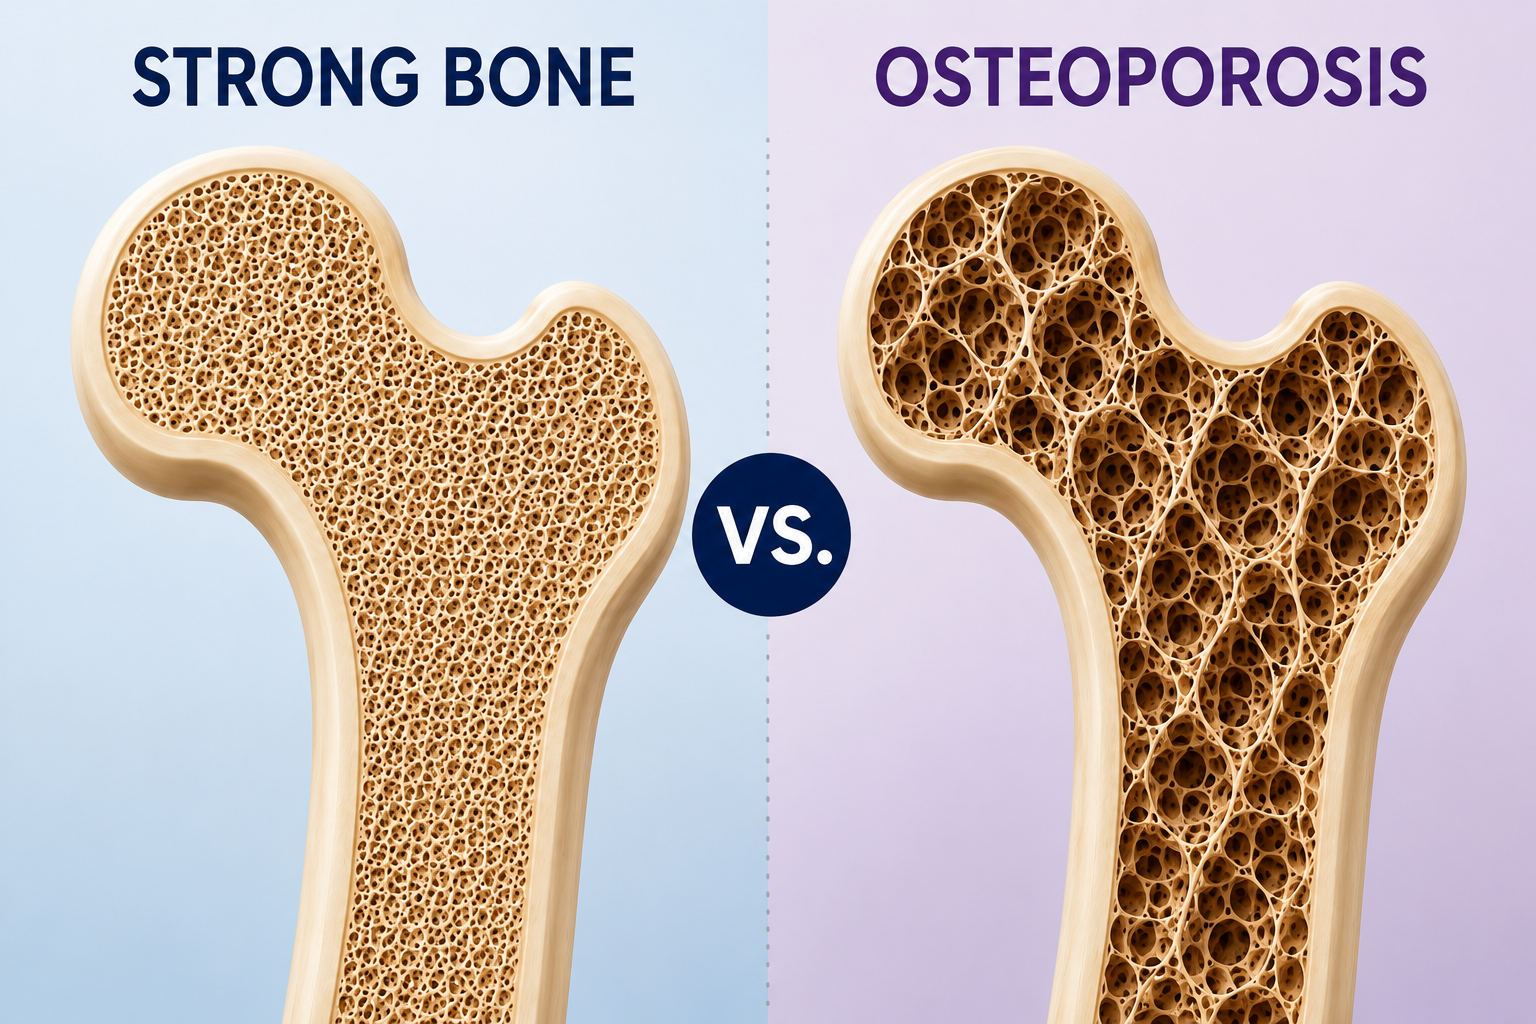
May is Osteoporosis Awareness Month, so I wanted to share some information about building and maintaining strong, healthy bones. Over the years, I have had many clients who are very active and healthy diagnosed with osteopenia or osteoporosis and wonder, “How could this happen?” The truth is, there are many factors that contribute to bone loss. As we age, the body naturally breaks down bone faster than it rebuilds it. Bone density gradually decreases over time, especially after age 50. Hormonal changes also play a major role, particularly during menopause. This is one reason osteoporosis is discussed more often in…